If you enjoy this article, or any other content from this website, please subscribe to the newsletter. Your support can make a big difference!
Hello everyone.
As per usual, I've jumped on the seasonal bandwagon, bringing to you this cheeky fresh fruit treat.
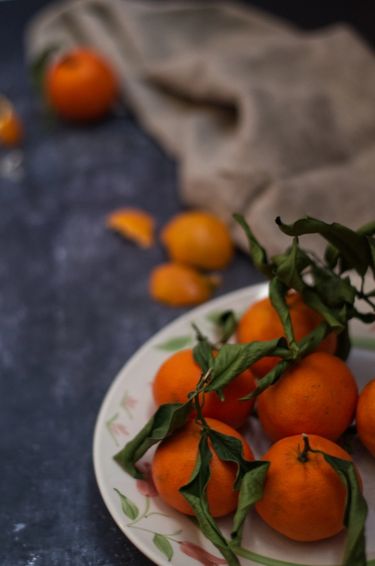
If you're reading this recipe, I'm already assuming you like clementines. I for one, love clementines because they are perfect size to snack on, they're seedless and they're so sweet. They never last through the week so I started buying in larger quantities. The funniest thing is that despite me buying these on a weekly basis, I still sometimes call them mandarins or tangerines. So let's clarify a thing, shall we?
What is the Difference Between Mandarins, Tangerines and Clementines?
There are so many small citrus fruits, it's no wonder that so many people confuse the names of these. Here’s a breakdown of the differences between these popular and delicious citrus fruits:
- Mandarins are a type of orange and the overarching category that Tangerines and Clementines fall into. They are generally smaller and sweeter than oranges, a little flatter in shape, and they and have a thinner, looser skin that makes them easier to peel.
- Tangerines are a specific type of mandarin orange. They are a bright orange colour, slightly tougher skins, and their flavour is a little less sweet and a bit more tart.
- Clementines are the smallest type of mandarin orange. They are super sweet, seedless, and have red-orange skins that are smooth and shiny. They are easier to peel than tangerines.
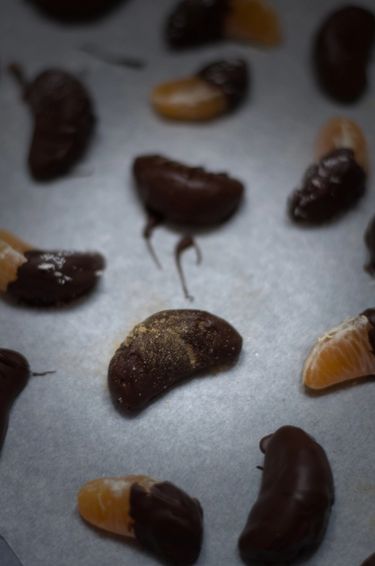
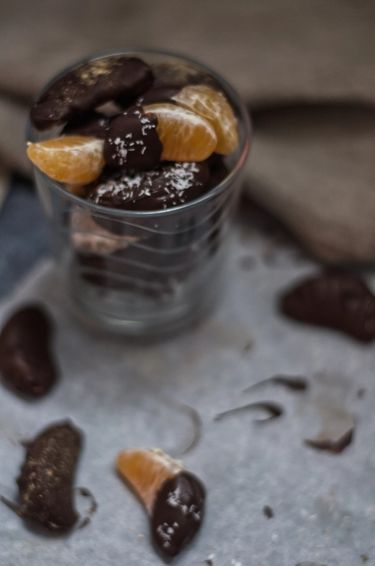
I wanted to give my wonderful clementines a makeover just to jazz things up a little, so I decided to wrap them up in a blanket of chocolate.
All you need are two ingredients (chocolate and clementines) and a bamboo fork. Read on to find out way that bamboo fork is a game-changer.
How to Make Chocolate Dipped Clementines
I had some milk chocolate which I had purchased once upon a time, to make no-bake brownies that never materialised. As that chocolate is way too sweet to be paired with clementines, I bought a couple of bars of 100% dark chocolate with no added sugars from my zero-waste store, with the intention of mixing the two chocolates together.
Apart from having to melt chocolate, here are a few simple tips and tricks that I'll share with you.
- Carefully peel the clementines to remove the peel without tearing the delicate skin of the segments. Wet skin will not bind well with the chocolate, reducing the chocolate to a dull sludge.
- Remove the pith (white threads) as that will give the clementines a hint of bitterness and may prevent the chocolate coating from being perfectly smooth
- Clean out your fridge in advance to make space for a plate with all the segments for drying.
- Keep a thermometer at hand. Monitoring the temperature of the chocolate will help you control the viscosity of the chocolate.
- Use a bamboo fork instead of a metal fork is cooler in temperature, causing the chocolate to harden prematurely. You can also use a plastic fork, for a similar effect to the bamboo fork.
- As the segments will be cold and the chocolate warm, the chocolate will harden quite quickly so you will need to work swiftly.
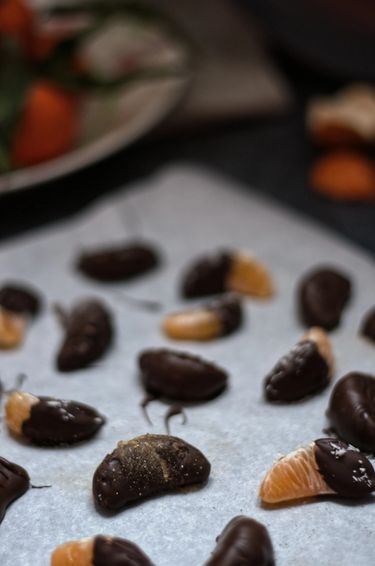
Chocolate Dipped Clementine Segments
No reviews yet
Description
An effortless, seasonal, healthy-ish snack your social circle is going to love.
Information
- Servings
- 25segments
- Preparation time
- 50minutes
- Cooking time
- 5minutes
Ingredients
- 3clementines
- 100grmelting chocolate (I would recommend 60% dark)
Method
1. Prepare the clementines
Carefully peel off the skin of the clementines, and then proceed to peel off the pith (white threads) to remove bitterness and to ensure that the segments have a smooth enough surface.
Place the segments on a plate and leave in the fridge for about 45 minutes.
2. Prepare the melted chocolate
Place the bars of melted chocolate in a bowl and place the bowl on top of a pot with simmering water (bain-marie).
Stir the chocolate to ensure that it is gradually melting and not burning. If you see that the chocolate is beginning to clump, lower the heat.
Monitor the temperature with a candy thermometer if you can. 50C is optimal but if it is hotter than that, just leave it to cool.
3. Coat the clementine segments
Place a baking sheet on top of a plate or tray.
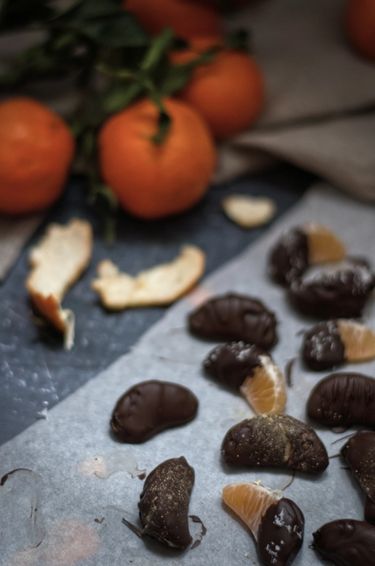
If you are dipping only half of the clementine, my favourite technique is to use the spatula to gently coat its sides. To do this, gently place the segment upright into the bowl of chocolate. Hold the segment with one hand, as you carefully brush chocolate on all its sides.
If you are dipping the whole segment, I recommend you use a bamboo or plastic fork (see post on why not to use a metal fork) to lower it into the chocolate, roll it and then lift it. Make sure to tap the fork to remove excess chocolate and you can also run the fork over the edge of the bowl to remove any leftover chocolate. This will prevent chocolate puddles which, once dried, do not look that appealing.
Carefully place the fully coated segments on the baking sheet by having the segment at the tip of the fork and then gently the segment down into its place with your finger. For those segments which are half-coated, use your fingers to place the segment onto the baking paper, by holding the uncoated end of the segment.
4. Decorate your clementines
You can add all sorts of things, whilst the chocolate is still wet.
I added coconut flour (fine coconut shavings) and a dusting of powdered ginger but you can also add crushed nuts or freshly grated ginger or citrus rind. Or why not add chilli and sea salt for a proper punch!
5. Let the clementines set
Place the clementines back in the fridge for about 5 minutes or until the chocolate has hardened. And then they're good to go.
